Setting Up Stable Diffusion AI: A Step-by-Step Guide
Introduction
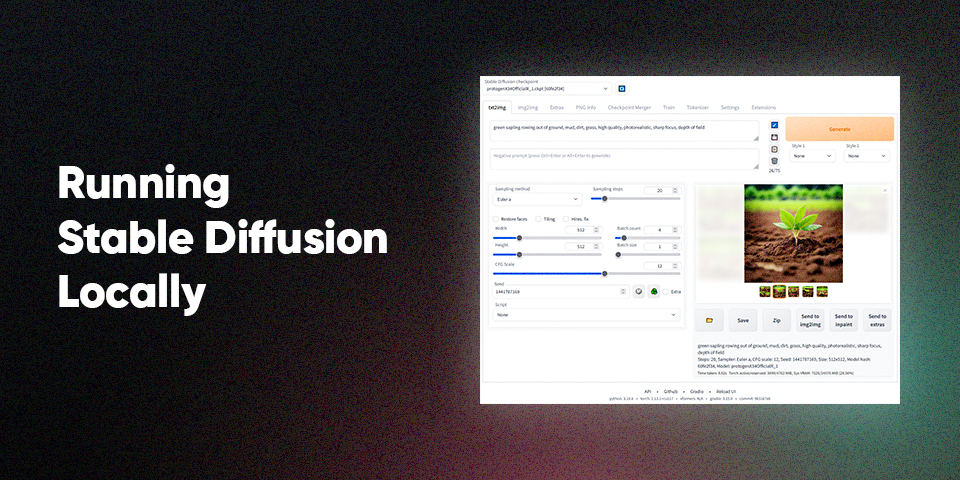
Stable Diffusion AI represents a cutting-edge approach in the field of artificial intelligence, leveraging advanced models to achieve impressive results in image generation and manipulation. Setting up Stable Diffusion AI involves a series of steps to ensure a smooth and effective installation process. Here’s a comprehensive guide to help you get started.
Prerequisites
Before diving into the setup process, make sure you have the following prerequisites:
- Git: Ensure you have the latest version of Git installed on your system. Git is essential for version control and managing the codebase.
- Python 3.10.6: You can either install Python 3.10.6 directly or set up a Python environment that matches this version. Python serves as the programming language for running Stable Diffusion AI models.
Step-by-Step Setup Guide
1. Install Git
If you haven’t already installed Git, you can download it from git-scm.com and follow the installation instructions specific to your operating system.
2. Set Up Python Environment
Ensure Python 3.10.6 is installed on your system. You can download it from the official Python website or manage your Python environment using tools like pyenv or conda.
3. Clone the Stable Diffusion Repository
Open your terminal or command prompt and clone the Stable Diffusion web UI repository:
git clone https://github.com/AUTOMATIC1111/stable-diffusion-webui.git4. Install Dependencies
Navigate to the cloned repository directory and run launch.py to install all necessary dependencies:
cd stable-diffusion-web-ui
python launch.py
This script will set up all required Python packages and libraries for Stable Diffusion.
5. Download Training Data and Checkpoints
Visit the following links to download my favourite training data and checkpoints:
Download these files to a designated directory on your system. These models will give you a better output.
6. Copy Files into Models Directory
Navigate to the models directory within your Stable Diffusion repository and copy the downloaded training data/checkpoints into this directory:
/stable-diffusion-webui/models/Stable-diffusion
Conclusion
Setting up Stable Diffusion AI involves configuring Git, Python, cloning the repository, installing dependencies, and incorporating necessary training data and checkpoints. Following these steps will enable you to start experimenting with state-of-the-art AI models for image generation and manipulation. Dive into the possibilities of Stable Diffusion and explore its potential in your projects.
Happy experimenting!